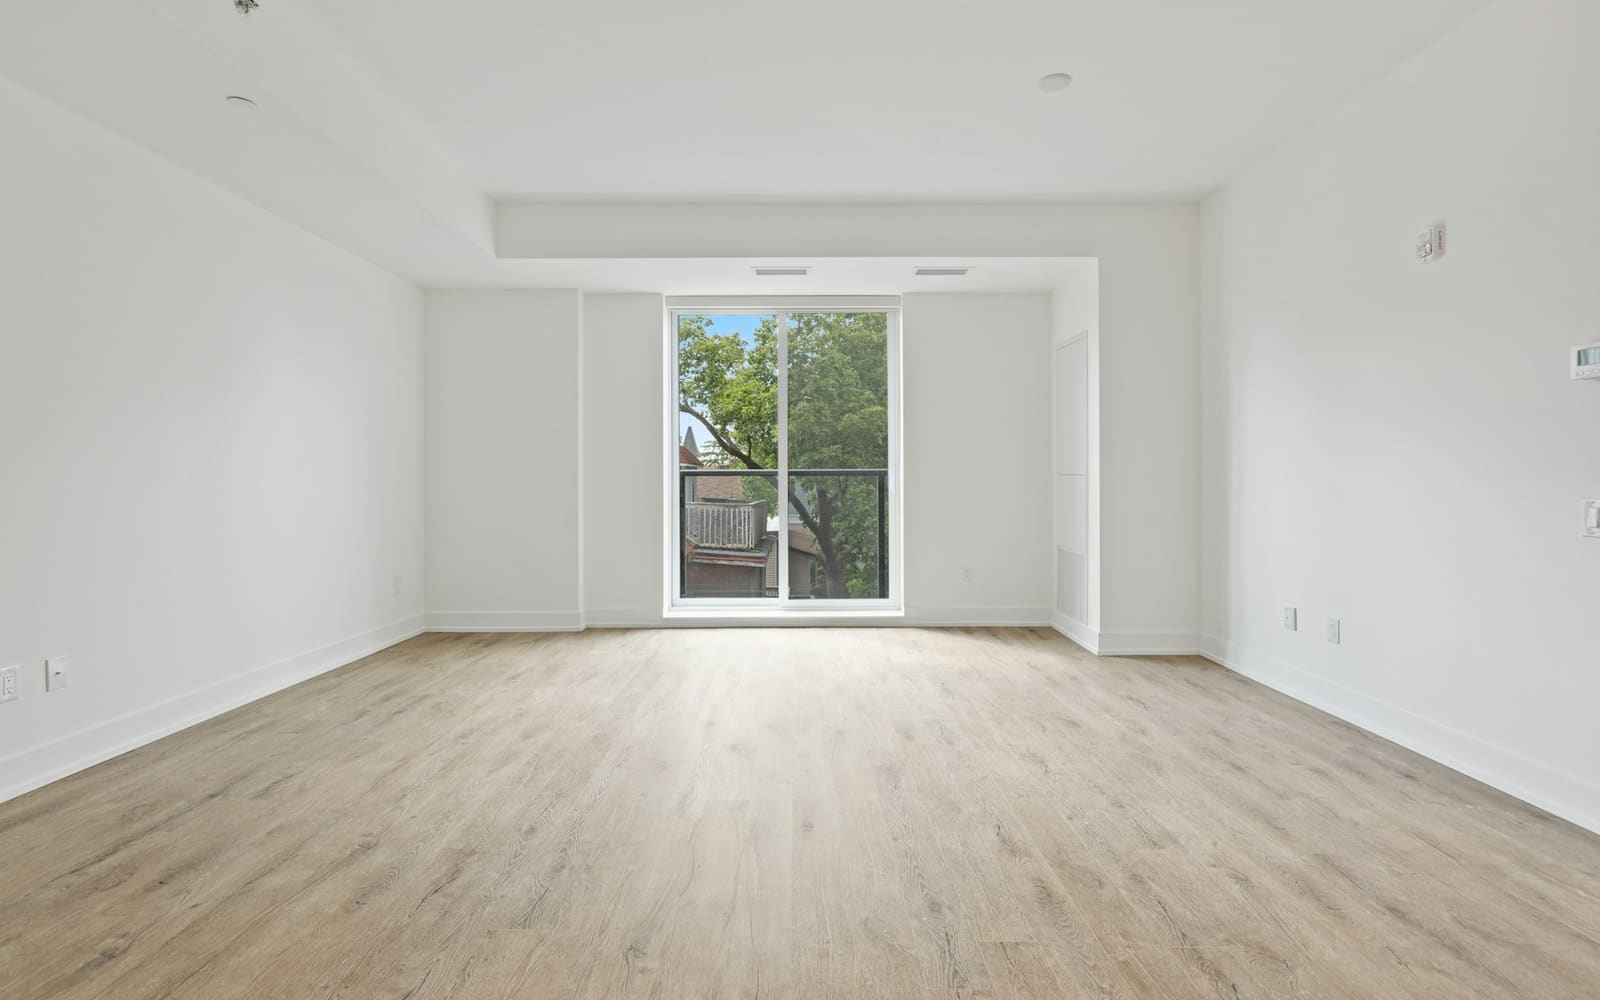
Renovating a complete bathroom
Renovating a bathroom is a series of jobs that each rest on the one before. If you tile before the pipes are tested, or fit the bath before the waterproofing is dry, you will be breaking out again later. This project puts everything in the right order.
For a complete bathroom, count on three to six weeks if you work at weekends and in the evenings. A large part of that is waiting time: screed, waterproofing, tile adhesive and grout have to dry. Go through the phases from top to bottom. For every job you get its own step-by-step plan and shopping list.
10 steps, 21 jobs
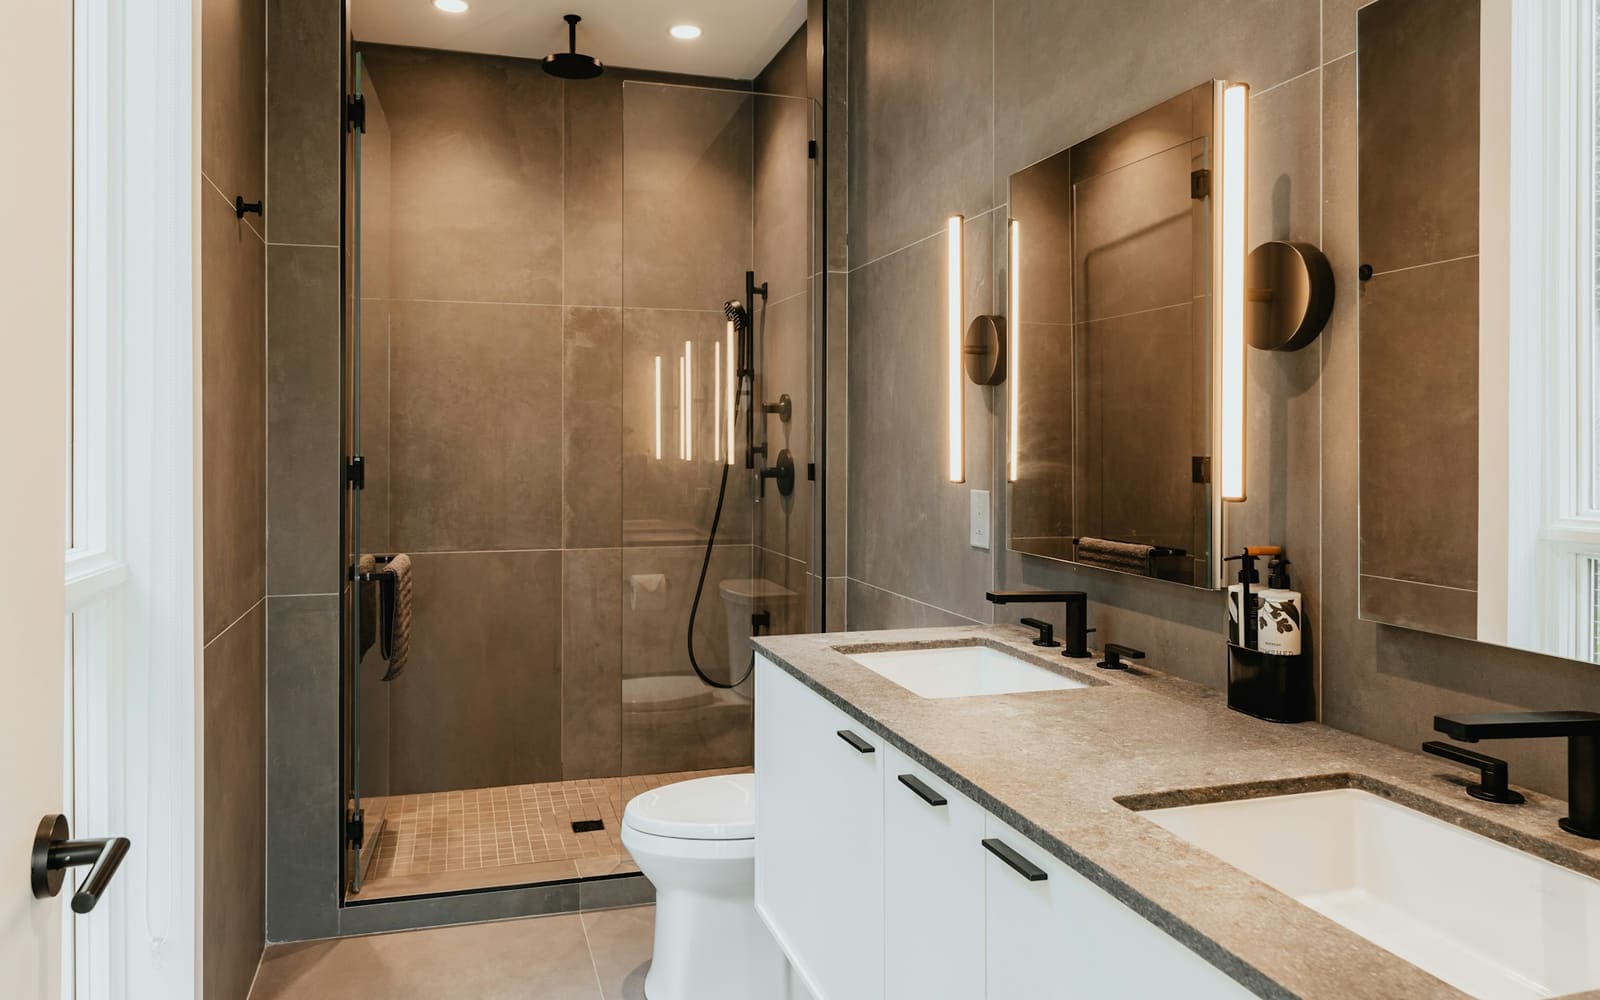
The order of the work
Go through the steps from top to bottom. Every job has its own questionnaire, step-by-step plan and shopping lists.
Step 1: Planning and checking
Draw the new layout to scale and fix where the shower, bath, toilet and washbasin will go: all the pipes depend on that. In a house from before 2001, check whether there may be asbestos in old tile adhesive, vinyl or pipe insulation, and if in doubt have a sample examined before you break anything out. Also find the cause of damp patches or mould and solve it first. Order materials with a long delivery time now.
Step 2: Demolition
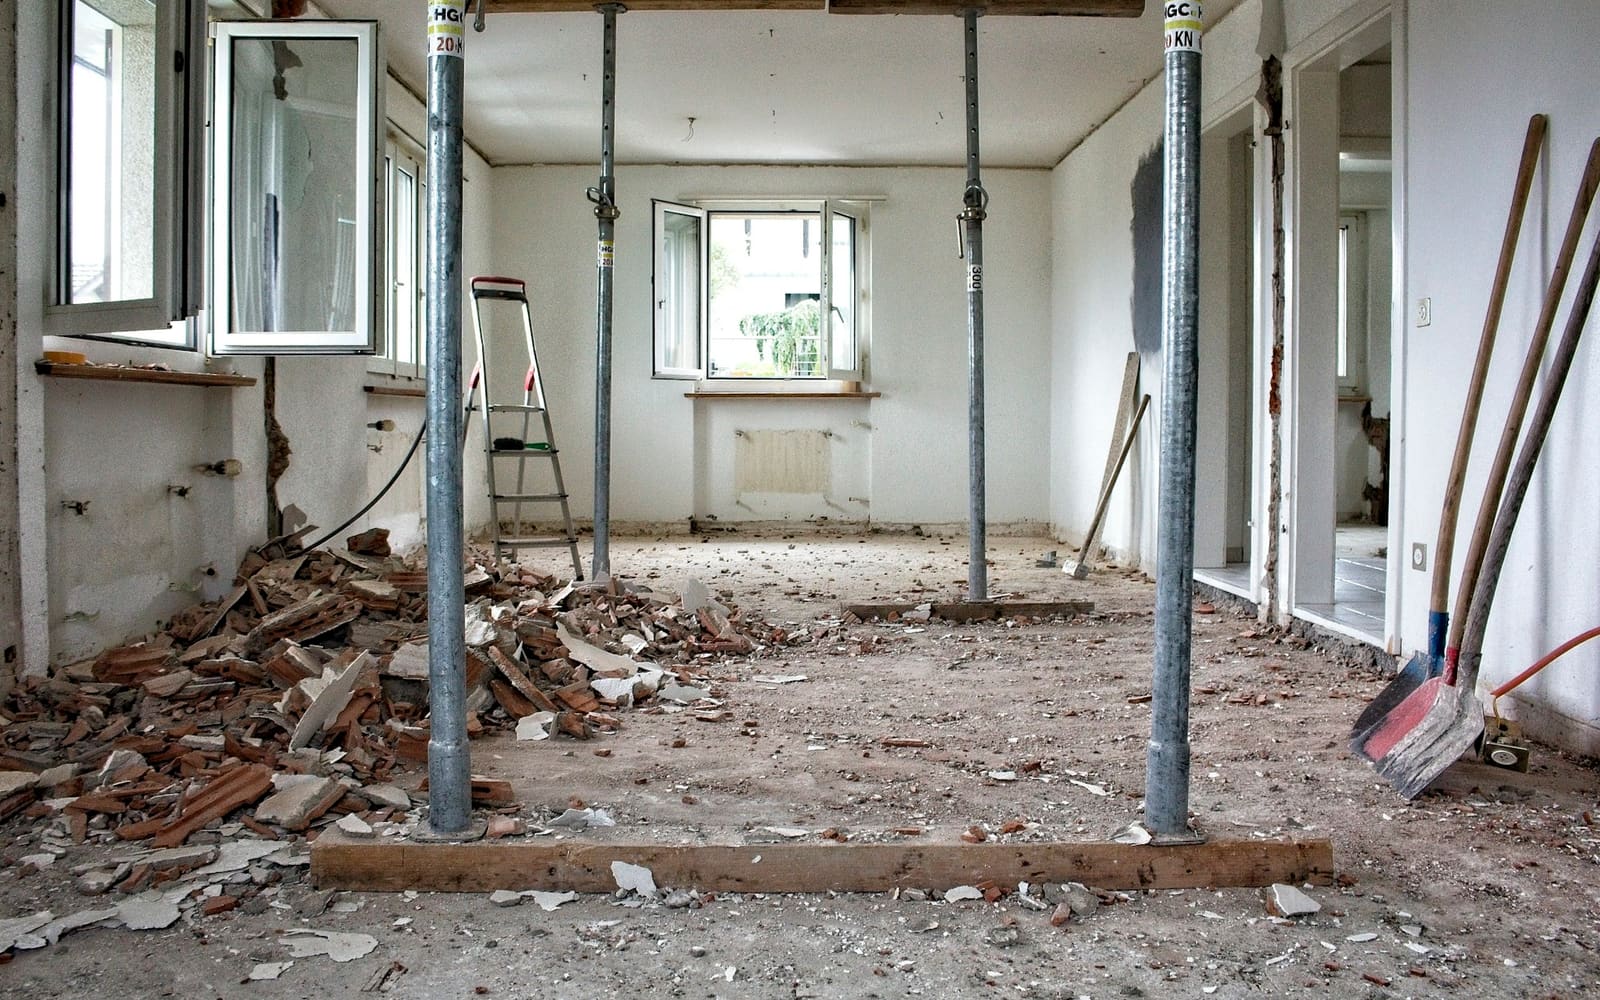
Shut off the water and the electrics and take out the old sanitary ware, the tiles and if necessary the floor and an interior wall. Demolition comes first because only afterwards can you see what state the pipes and the substrate are in. You never take out a load-bearing wall without a study by a structural engineer.
Step 3: Pipes for water supply and drains
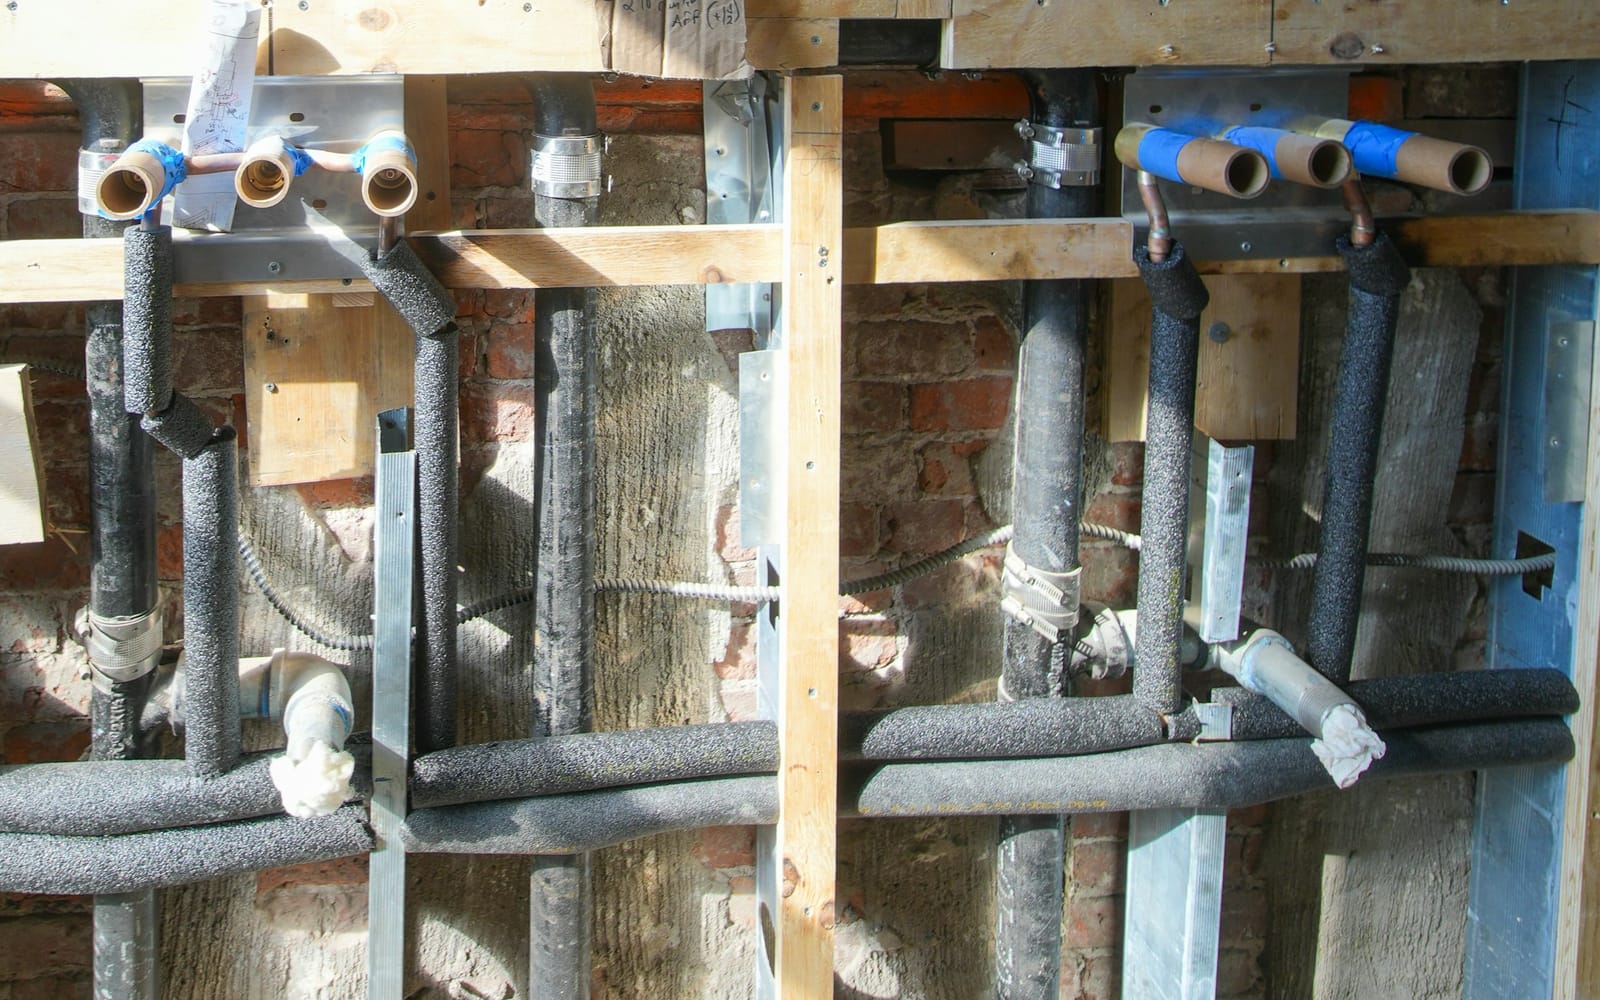
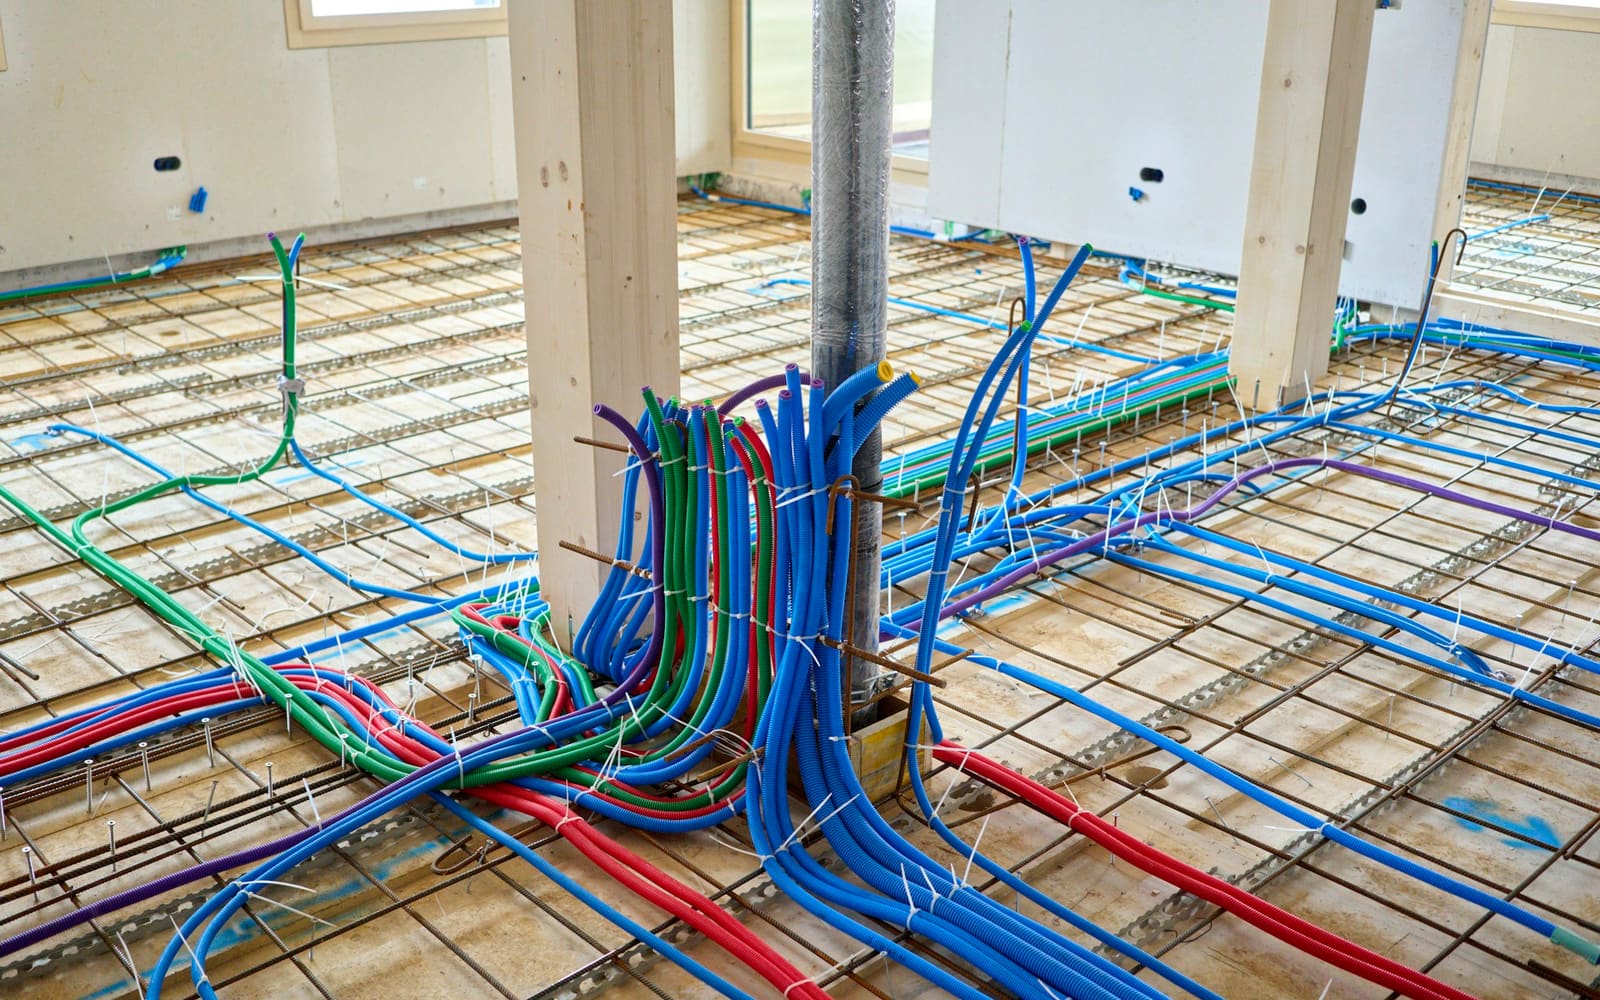
Run the hot and cold supply and the drains to every place where sanitary ware will go. This happens now, while the walls and floor are still open. Pressure-test the supply pipes and test the drains with water before anything is closed: later you can only find a leak behind the tiles by breaking out.
Step 4: Electrics and ventilation: the first fix
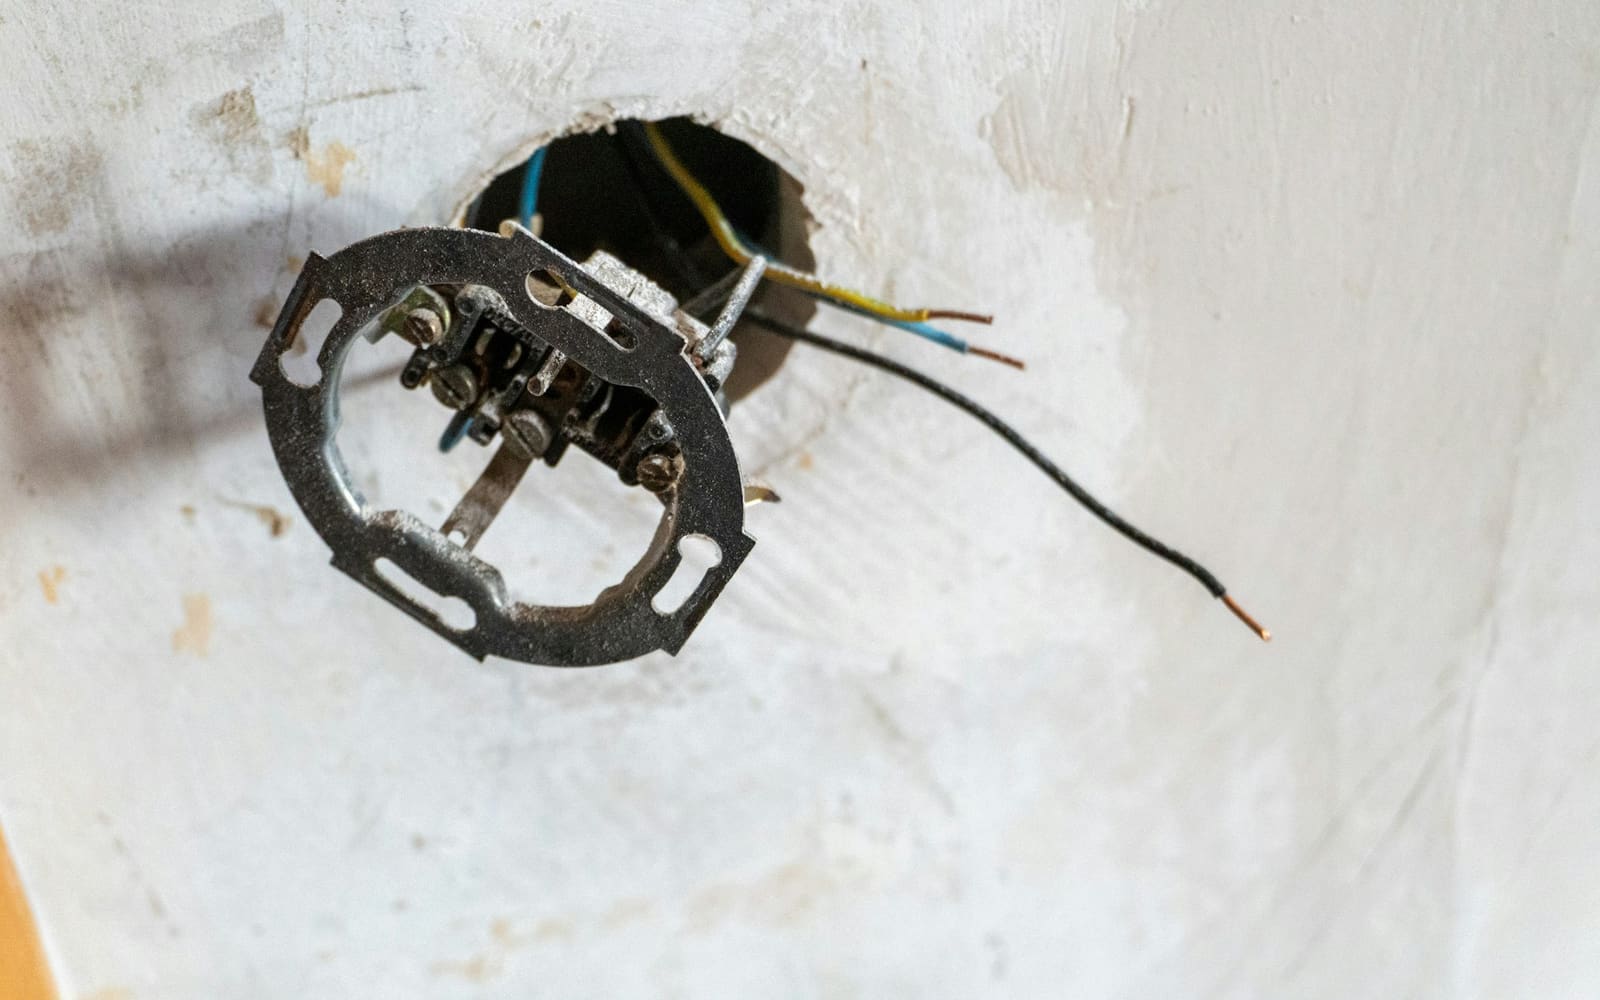
Run the conduits and cables for sockets, lighting, mirror heating and the fan, and lay the ventilation duct to the outside. A bathroom has zones around the bath and shower where not everything is allowed. Fitting the switches and lamps only comes after tiling and painting.
Step 5: Building and flattening the walls
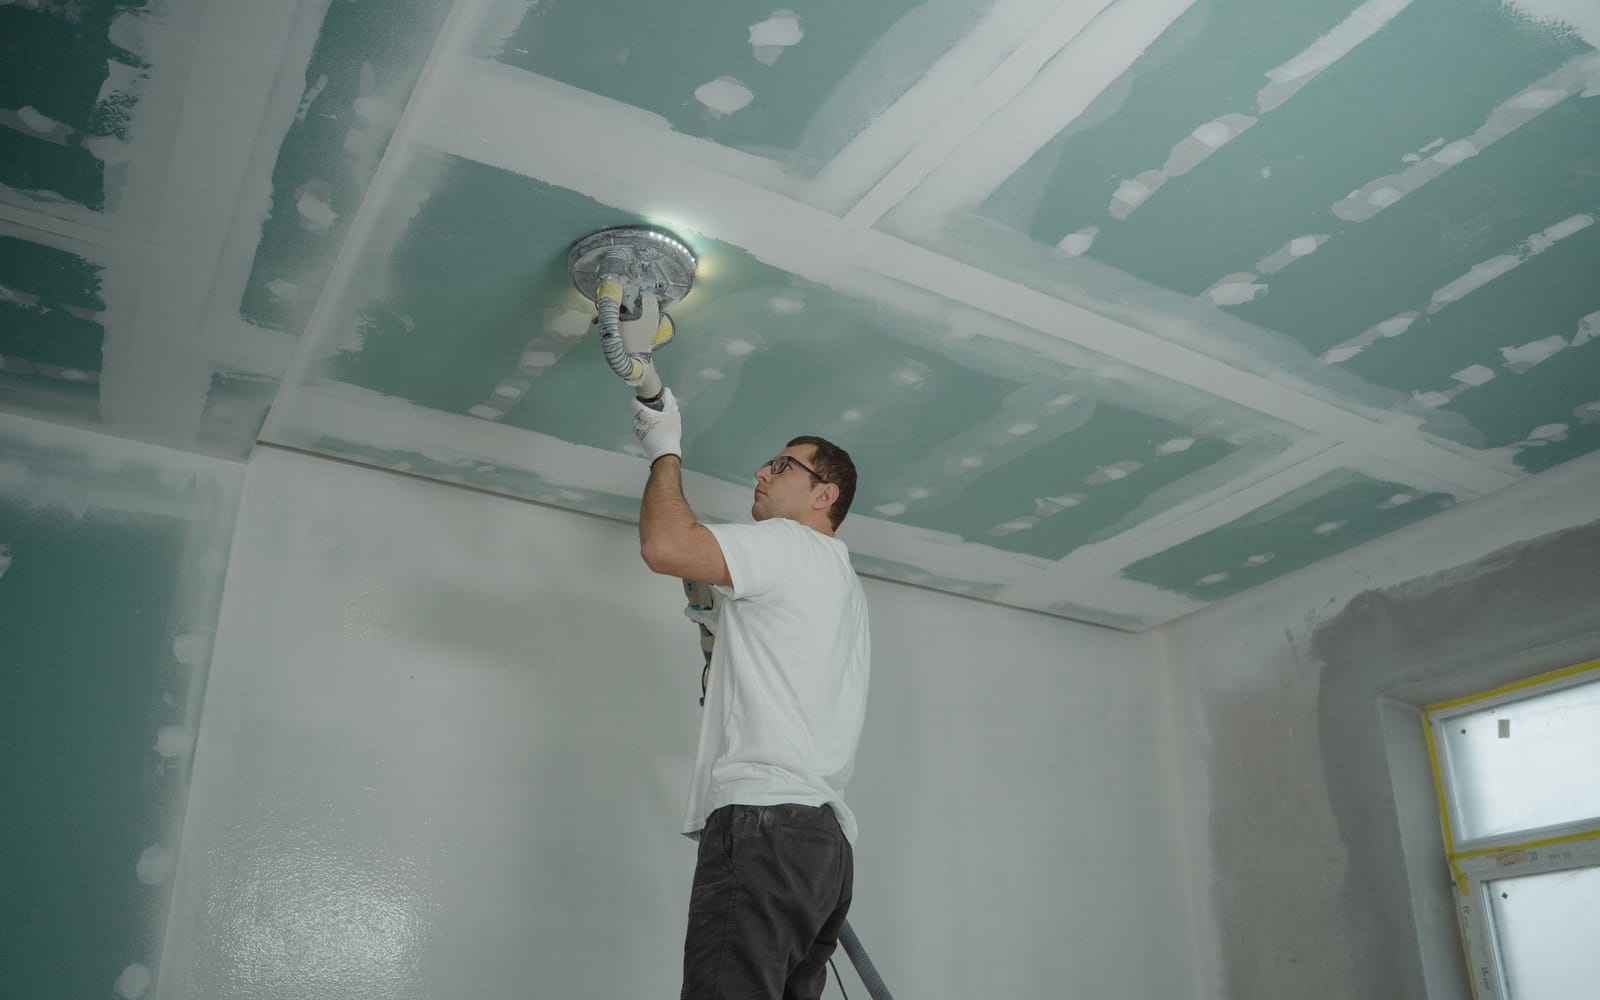
Build the new walls and the frame for the wall-hung toilet, with moisture-resistant boards, and finish the existing walls flat. Tiles follow every irregularity, so the walls have to be straight and flat now. Let plaster dry completely before you go on.
Step 6: Floor build-up
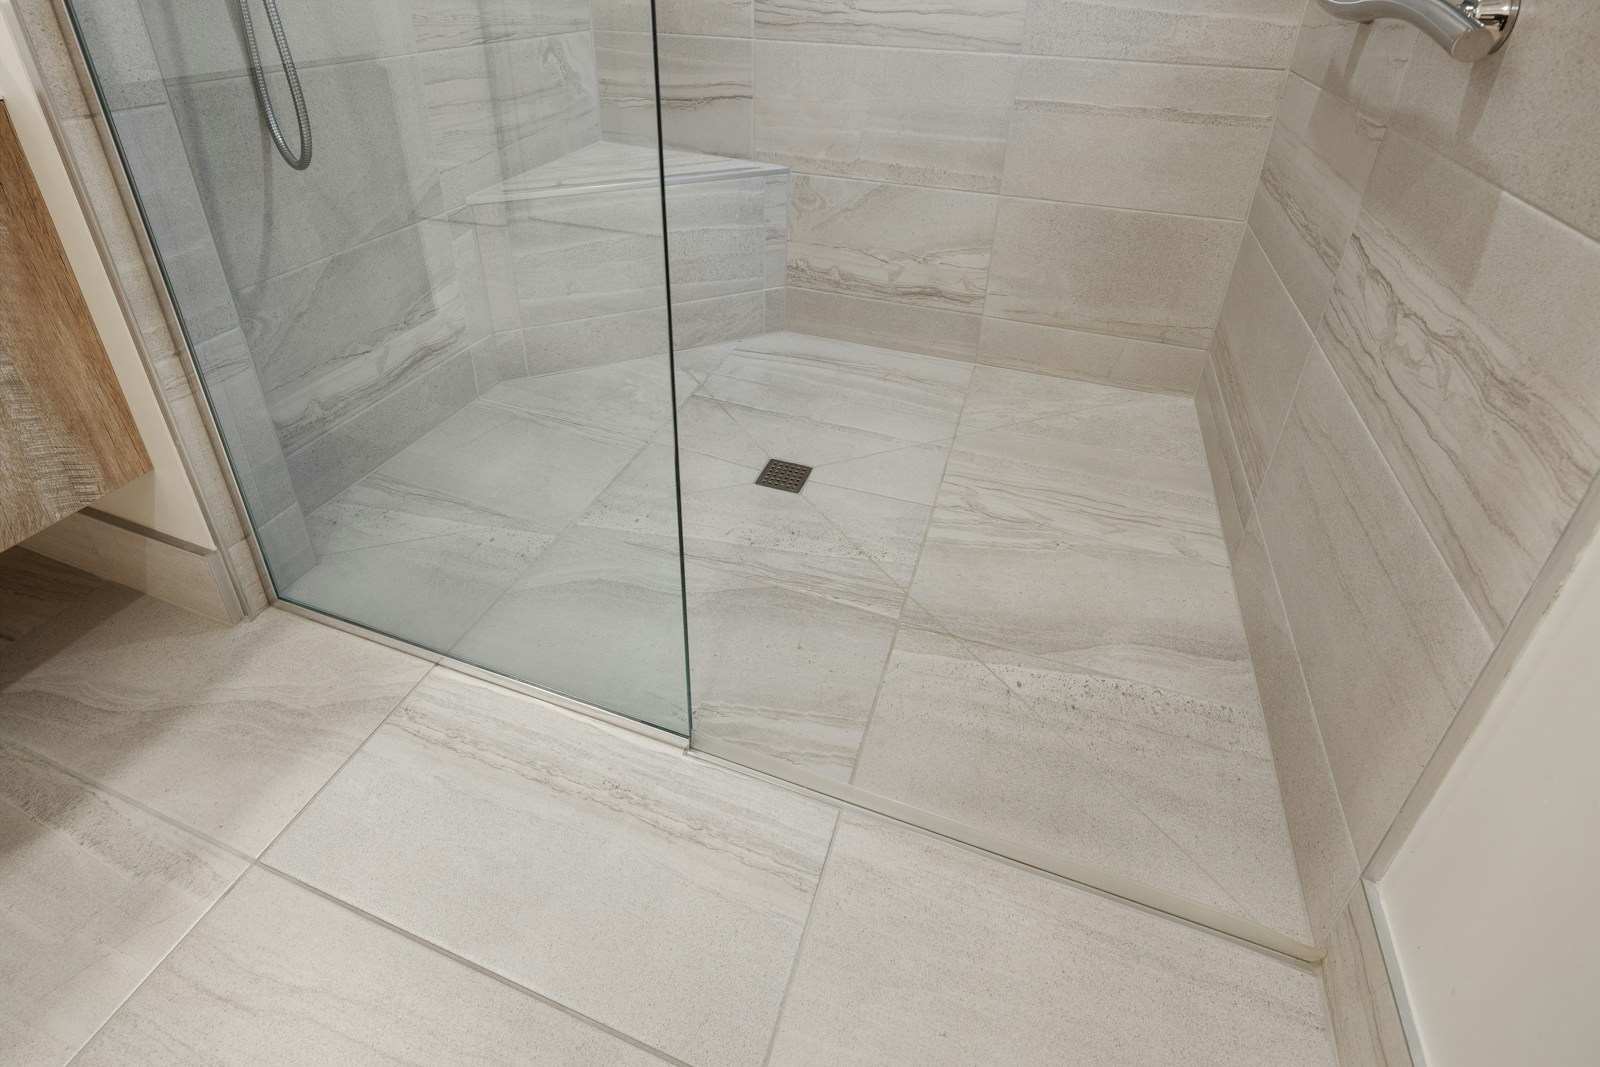
Lay the underfloor heating if you want it and pour the screed, with a fall towards the drain of a walk-in shower. The screed comes after the pipes, because they lie in or under it. Then it has to dry: count on about a week per centimetre of thickness before you can tile, longer for a thick layer.
Step 7: Waterproofing and tiling
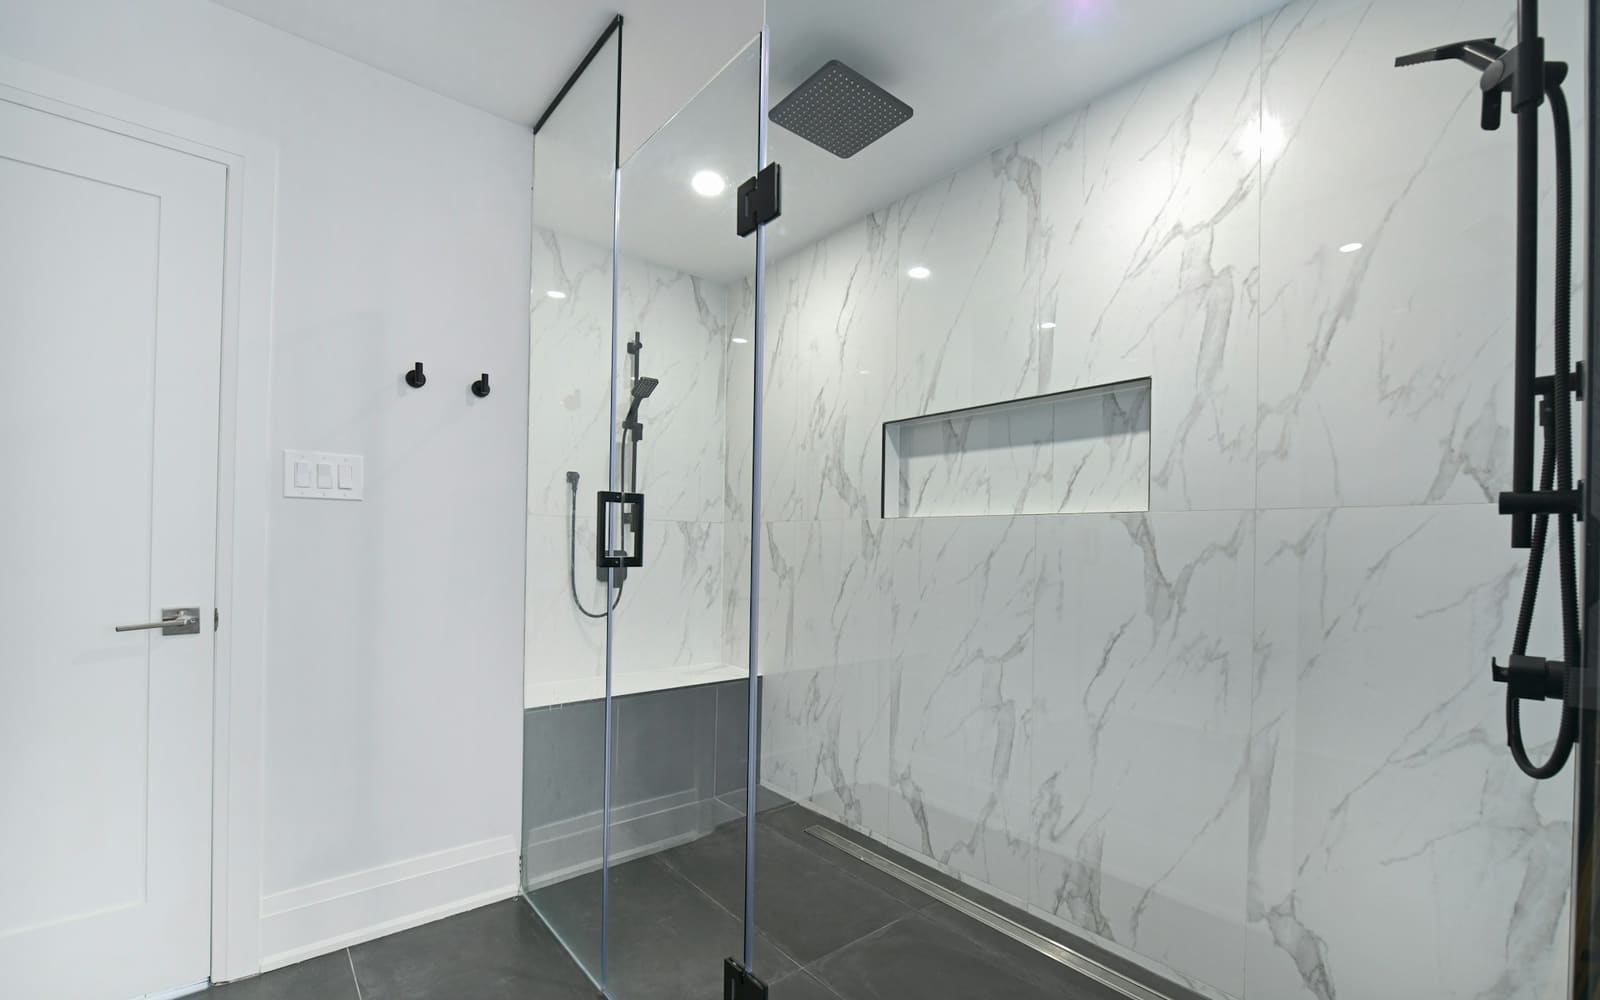
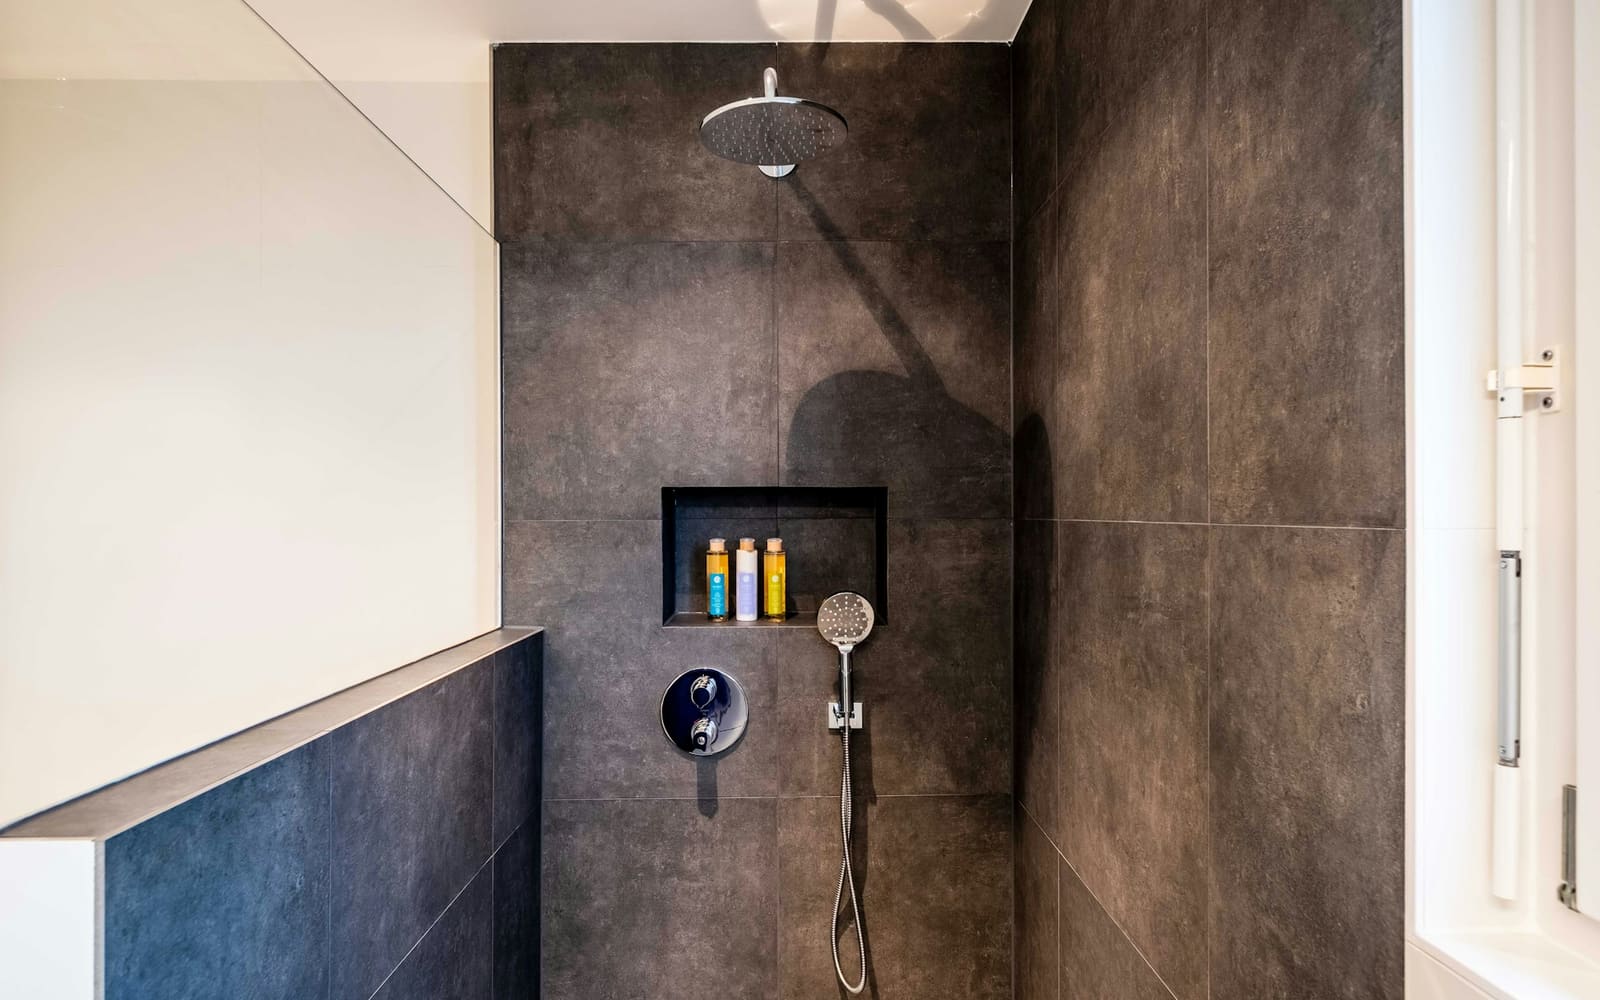
Waterproof the wet zones and then tile the walls and the floor. The waterproofing sits under the tiles: tiles and grout do not stop water by themselves. Tile the walls first and then the floor, so that no adhesive or grout falls on the new floor.
Step 8: Fitting the sanitary ware
Fit the bath, the toilet, the washbasin with its unit and the radiator, and connect them to the pipes that are waiting. This comes after tiling, so that the tiles run behind and under the fixtures. Seal the joints with sanitary silicone once everything is fixed.
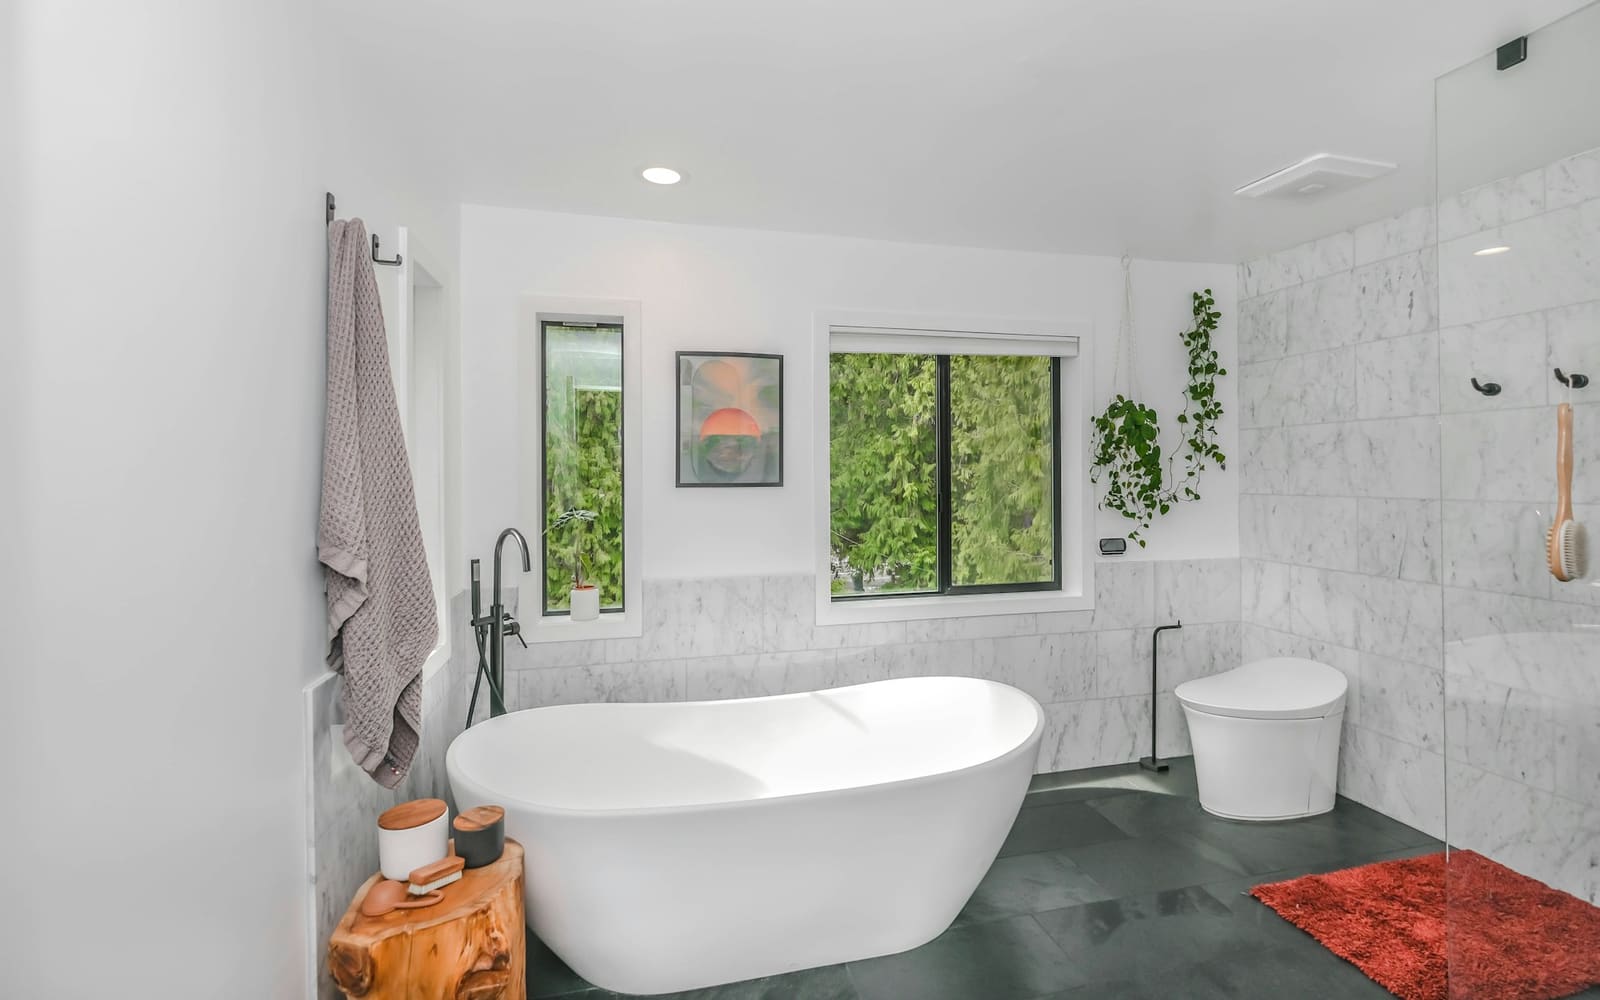 Fitting a bath3D configuratorModerate1 to 2 days, plus 24 hours for the sealant joint to cure
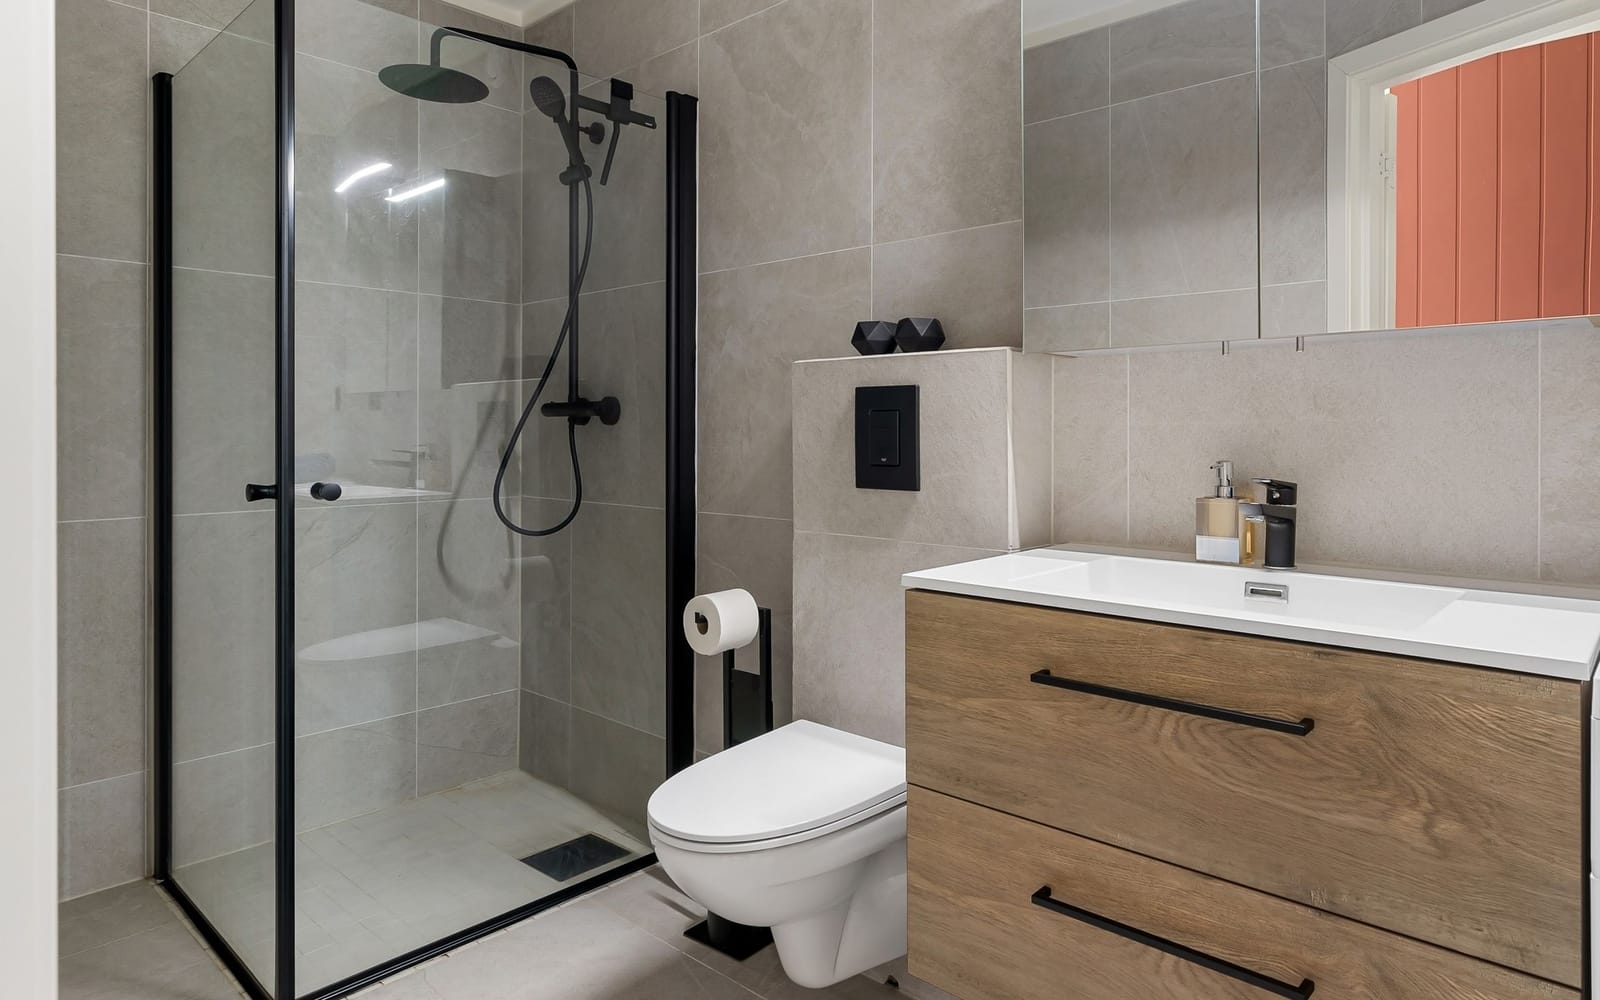 Fitting a wall-hung toilet3D configuratorModerate1 to 2 days of work, plus the time for finishing the wall
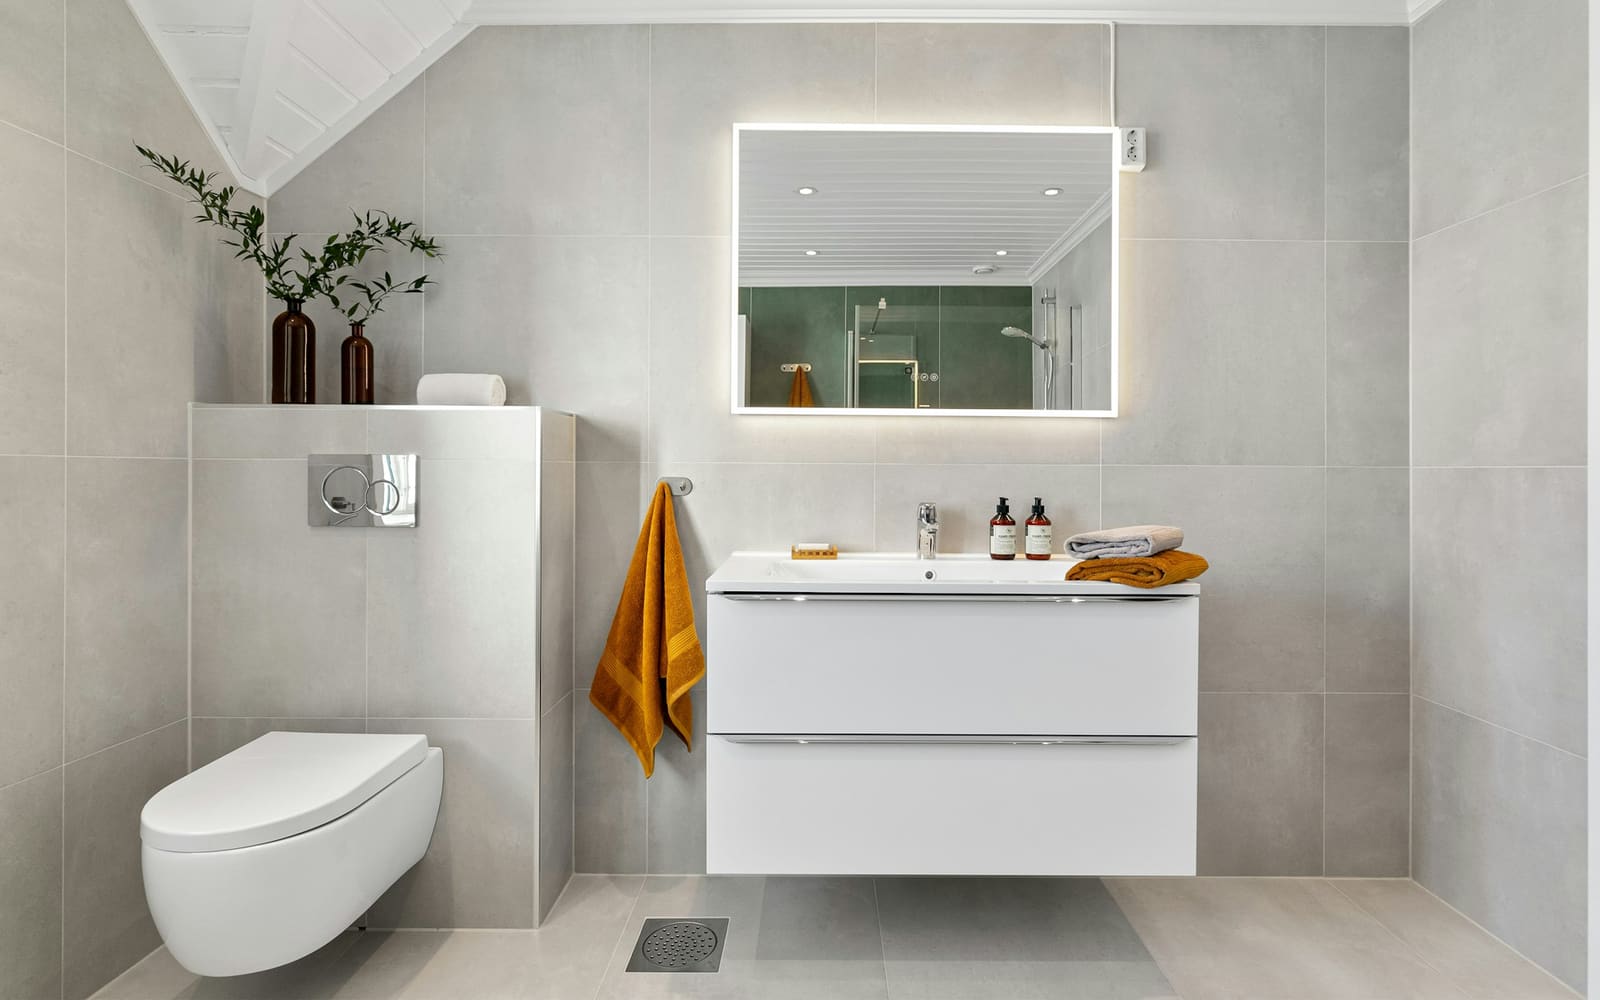 Fitting a washbasin or vanity unit3D configuratorModerateHalf a day, plus 24 hours of drying time
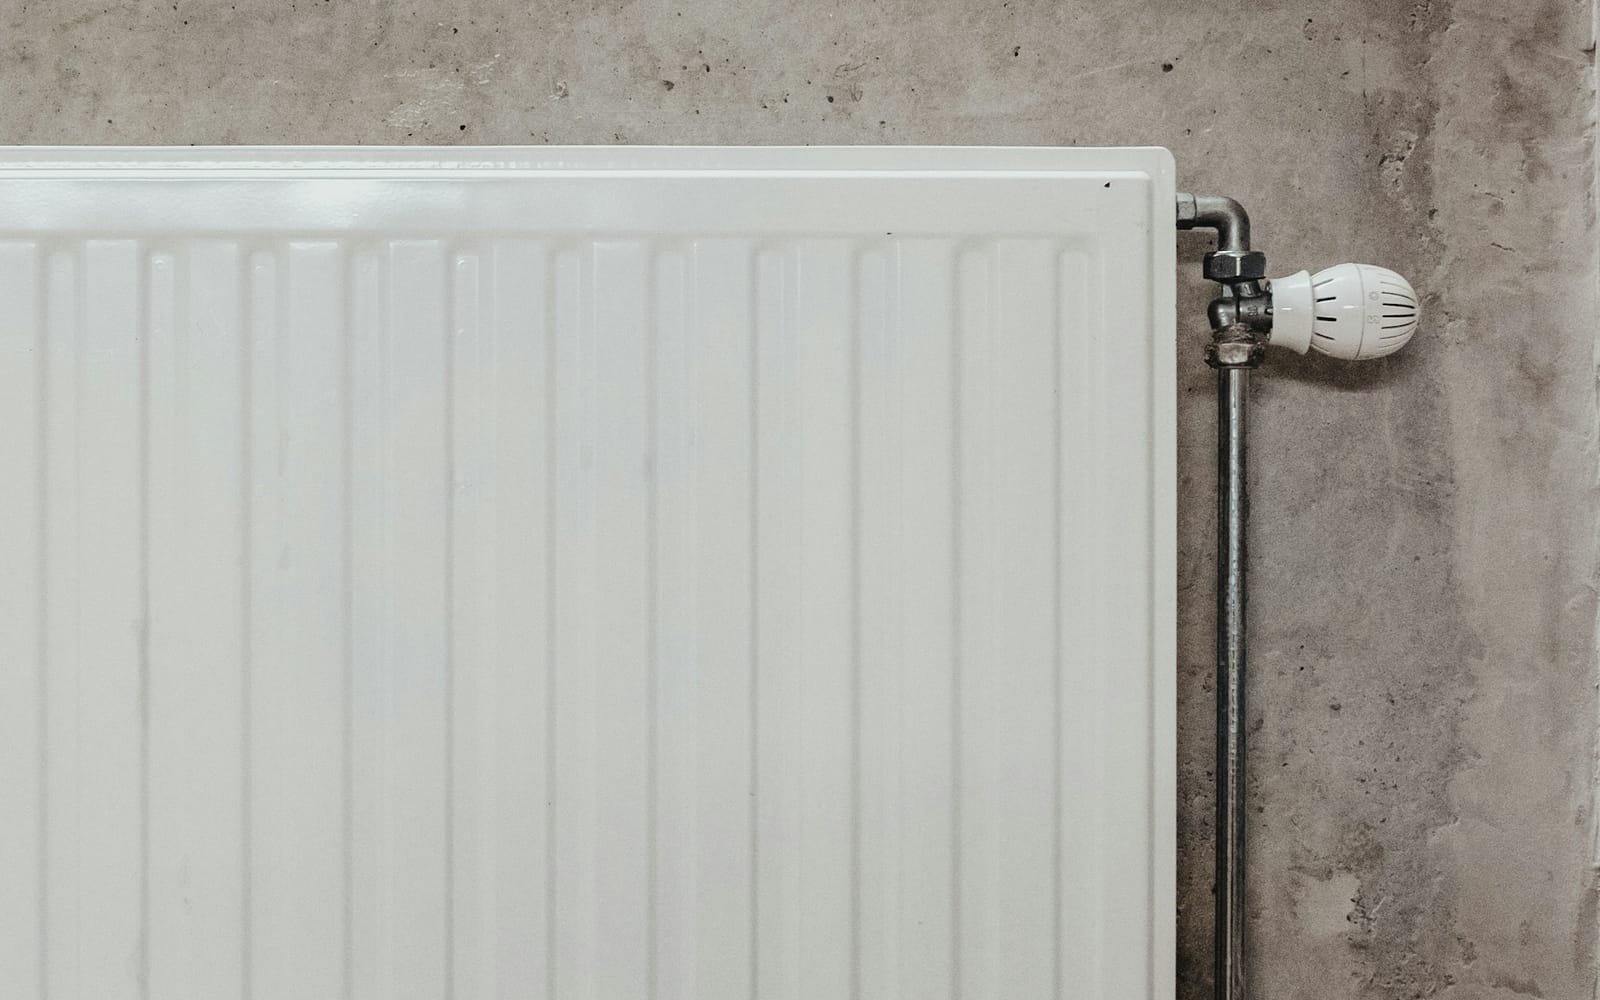 Fitting or replacing a radiator3D configuratorModerate1 day for one or two radiators
Step 9: Finishing
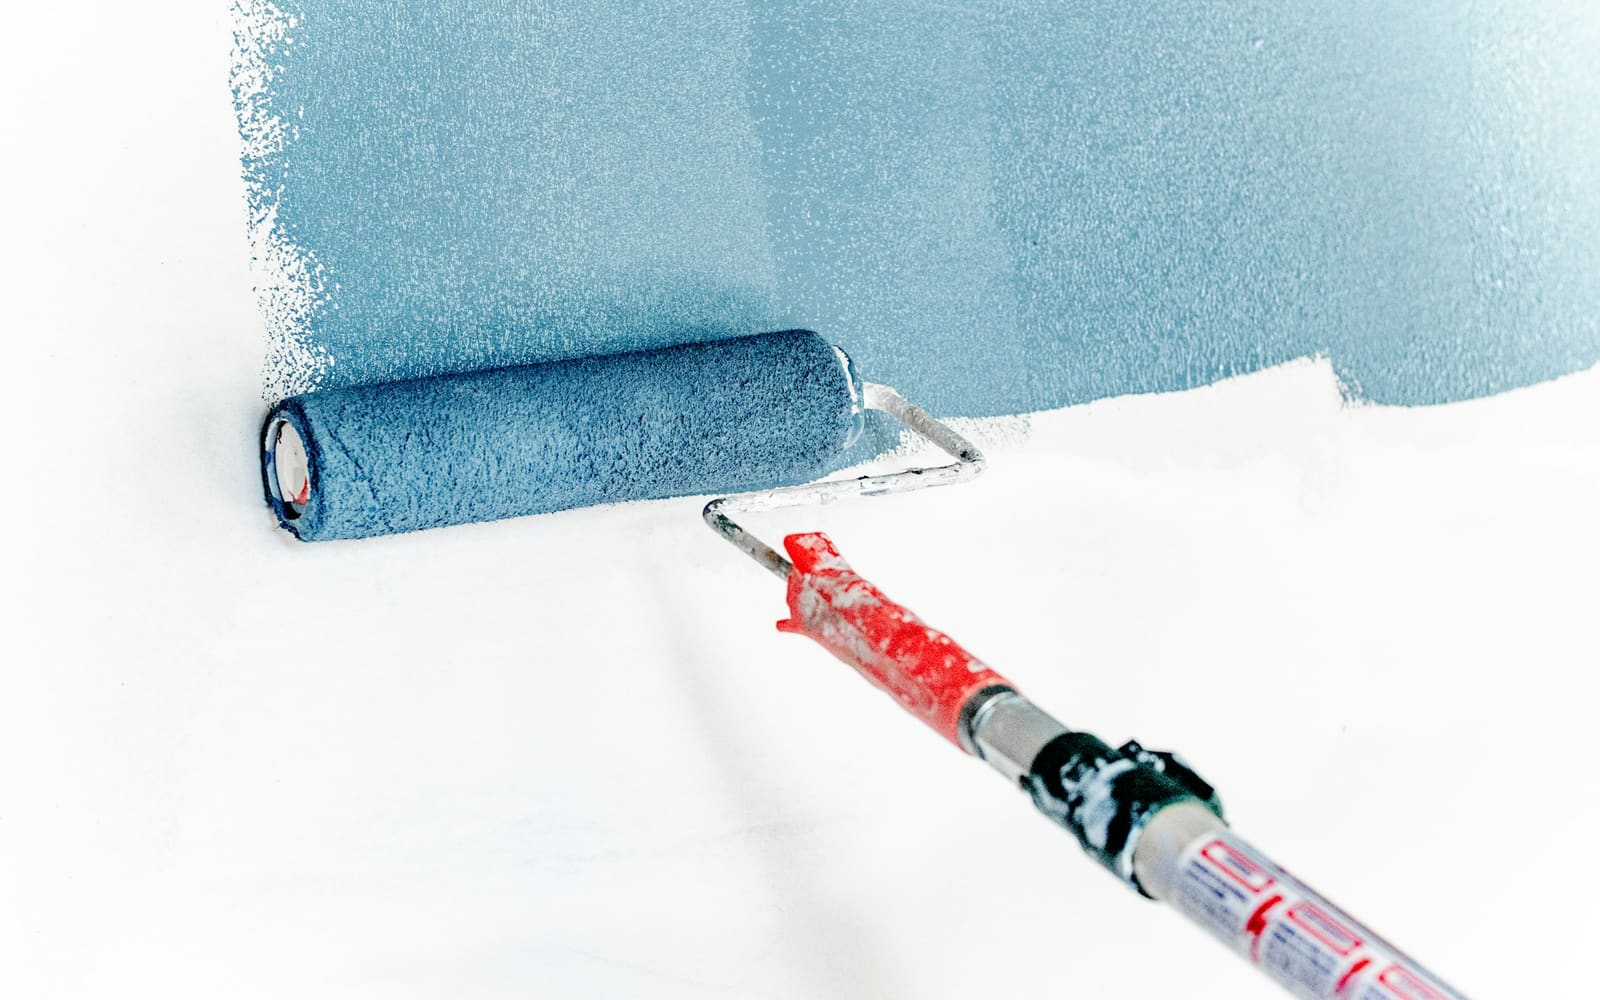
Fit the sockets, switches and lighting and paint the ceiling and the walls that are not tiled, with paint for damp rooms. This is the last work, because the dust and splashes of the earlier phases are over by then.
Step 10: Inspection of the electrics
Work for a professionalIf you have added or changed circuits, have the installation inspected by an accredited inspection body before you put it into use. Among other things the inspector looks at the residual-current device, the earthing and the zones in the bathroom.



Other projects
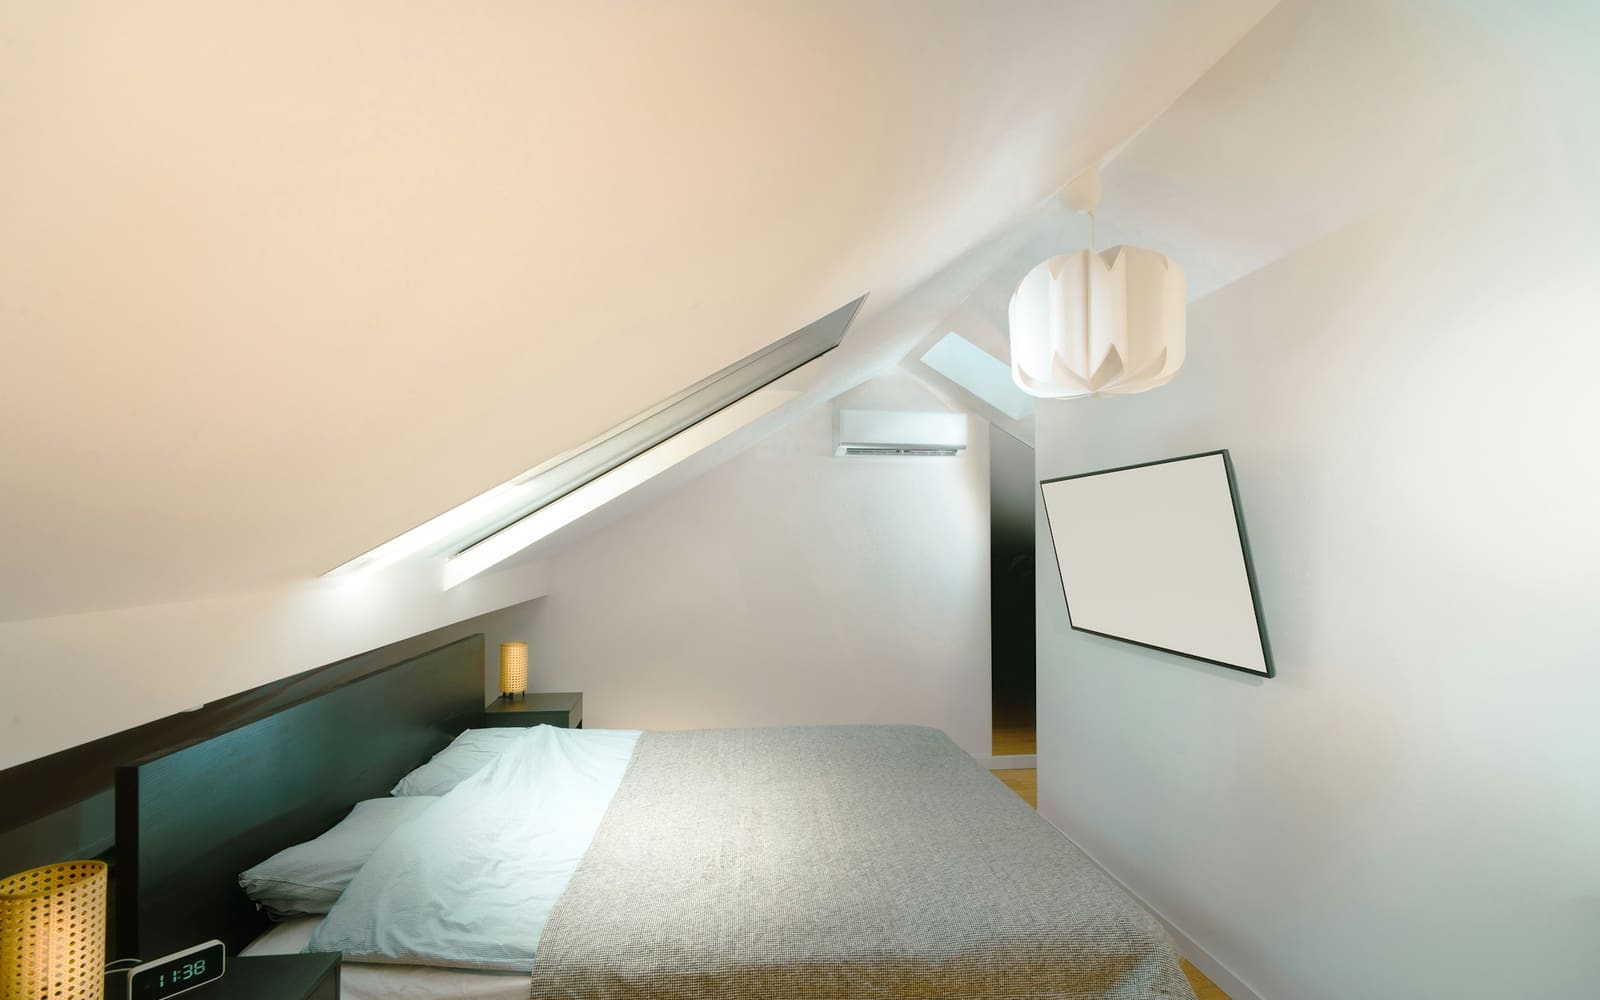
Converting the attic into a room
From bare attic to bedroom or office: roof window, insulation, electrics, walls and finishes in the right order.9 steps, 12 jobsView the project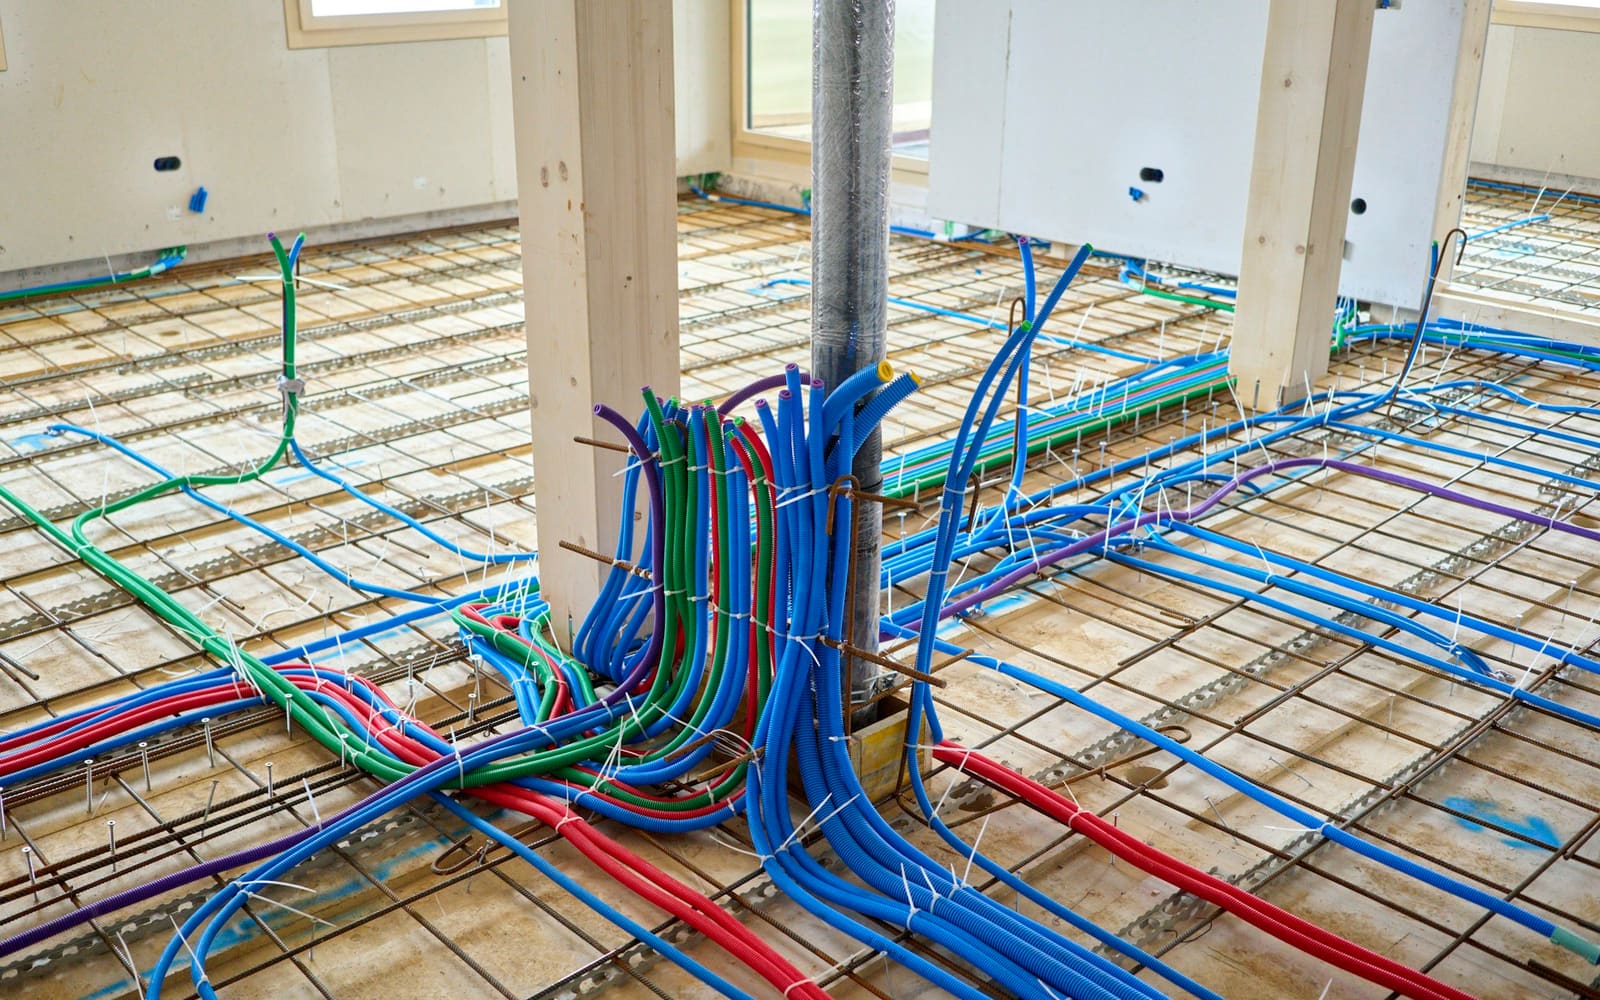
New floor build-up on the ground floor
Replacing an old floor with an insulated build-up of concrete, pipes, underfloor heating, screed and a new finish.8 steps, 12 jobsView the project